WHAT IS A VECTOR GRAPHIC? ...AND WHY IS IT ALWAYS PREFERRED OVER RASTER IMAGES?
There are a lot of formats and color modes to choose from when creating your design & graphic art files, but when it comes to designing files for printing; the argument seems to be between vector and raster images. These two graphic files may seem kind of the same in a digital format, but it can make a serious difference in the outcome of the printing process depending on your future plans with that art file. Here at Hittn’ Skins we routinely have this conversation with our clients and sometimes it seems as if it can be a little over their heads. This article is about the comparison between Vector & Raster based artwork and a little more in depth of their differences. Enjoy…
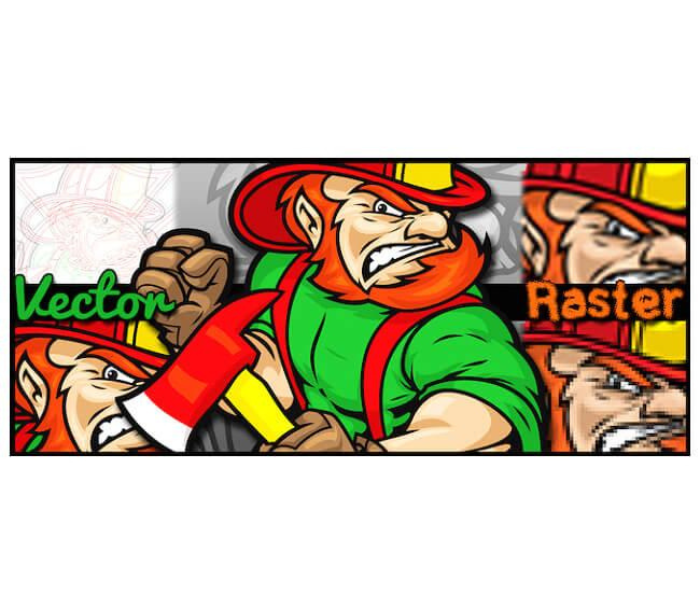
Raster Images
Raster images, which are also called bitmap images, are made up of millions of pixels. Consider a pixel a tiny dot or square filled with information; raster images are created by millions of these tiny pixels that together compose all the details of the drawing almost like a giant digital mosaic. Most of the images we find on the Internet are raster-based images. These files are normally labeled Jpeg, Bitmap, Tiff, Gif, Png etc. They also typically tend to carry heavier image sizes and contain tons of data that make them a little slower to load or render, depending on the number of pixels in the actual file. When rendering or enlarging a raster image, each pixel can only be enlarged to a certain extent. You can stretch the information normally to 3 times the size before it starts to show all of the defects in the pixels, after that point the hard lines in the image will look blurry or fuzzy and this may turn out to look considerably noticeable or terrible. This is what people in the design industry refer to as “pixelated”. Raster images, in most cases, will work just fine for apparel screen printing, but it is only because they are printed on to fabric and normally not enlarged or stretched past a certain print size. For raster files & digital printing, they may look well in proofs, digital publications, on screen or online, but this does not mean they will translate very well for larger scaled digital graphics or wrap printing. The image may come out pixelated or not clearly display all of information in the image or will only look clear from far view point several yards away. The solution to keeping the clarity in raster-based images is to load them with more & more pixels. A high-res raster image is just that. High resolution raster images are usually measured by the number of dots or pixels per inch (DPI & PPI). This is why you may often hear the terms 300 Dpi or 1000 Dpi when people are asking for high-res files or images. Low quality & web-based images normally carry a Dpi of 72 – 96 dots per inch. This is mainly because you will be looking at them on the web or mobile devices. Lower Dpi images are also smaller file sizes, so it often helps websites & animations load faster at 72 Dpi vs. 300DDpi.
Vector Images
On the other hand, Vector images use numbers, points, thin lines and curves (or paths) instead of pixels to create an image. Vector paths are more like numerical wire frames of an image and coordinates rather than tiles, pixels or squares filled with colors or information. Vectors carry a significant difference in overall file size when compared to Raster images (generally less than 500 KB). Vector graphics are more like blueprints for a graphic design instead of actual tiles of details. These images can be scaled to larger sizes without losing any quality. Vector images can also be better identified for always appearing to be smooth no matter how zoomed in or out you are to the image because there are no pixels to zoom in to. Using paths rather than pixels allows the image to produce a clear and bold picture whether enlarged or shrunken down. Not only do Vectors produce a better image, but also make creating and making any changes to the asset much easier because they are wireframes & shapes, not mosaics. Vector graphics can also easily be assigned PMS colors to each shape keeping ALL of your color data consistent throughout your designs & printing. One other amazing attribute of vector files & vector paths is that CNC machines (or computer numerical control machines) are able to follow these paths like road maps to cut out the graphic with a variety of automated cutting tools. This concept is what makes a contour cut sign or decal look so perfect. We typically use vector paths for our cut vinyl graphics on our Roland printer & plotters. We even us CNC routers to contour cut signs, substrates, foam, metal & MDO boards to create most of our layered & router cut signage.
Starting your design off as a vector image is the best decision to make when you’re trying to get the best quality graphic designs and be prepared for any kind of printing down the road. It has many advantages and creates a solid and clean foundation that works best for any form of future printing whether on paper, vinyl or apparel. Overall, if done correctly, both formats can be used for any of these applications, the main difference between the two would be that any Vector image can easily be Rasterized in a single step (usually 1 click), whereas raster images require numerous hours of editing to be turned back into vectors and can be a real time killer & costly last minute project in the event you are enlarging the finished graphic and trying to achieve optimal print quality.
We hope this article helps you when trying to decide the best possible format to start your designs off with! Stay tuned for more helpful articles that will make your design & printing tasks that much easier and the print quality so much better!! Look out for cool photos, articles & links here on our BLOG at Hittn’ Skins! For more information, questions or comments, please contact us at: